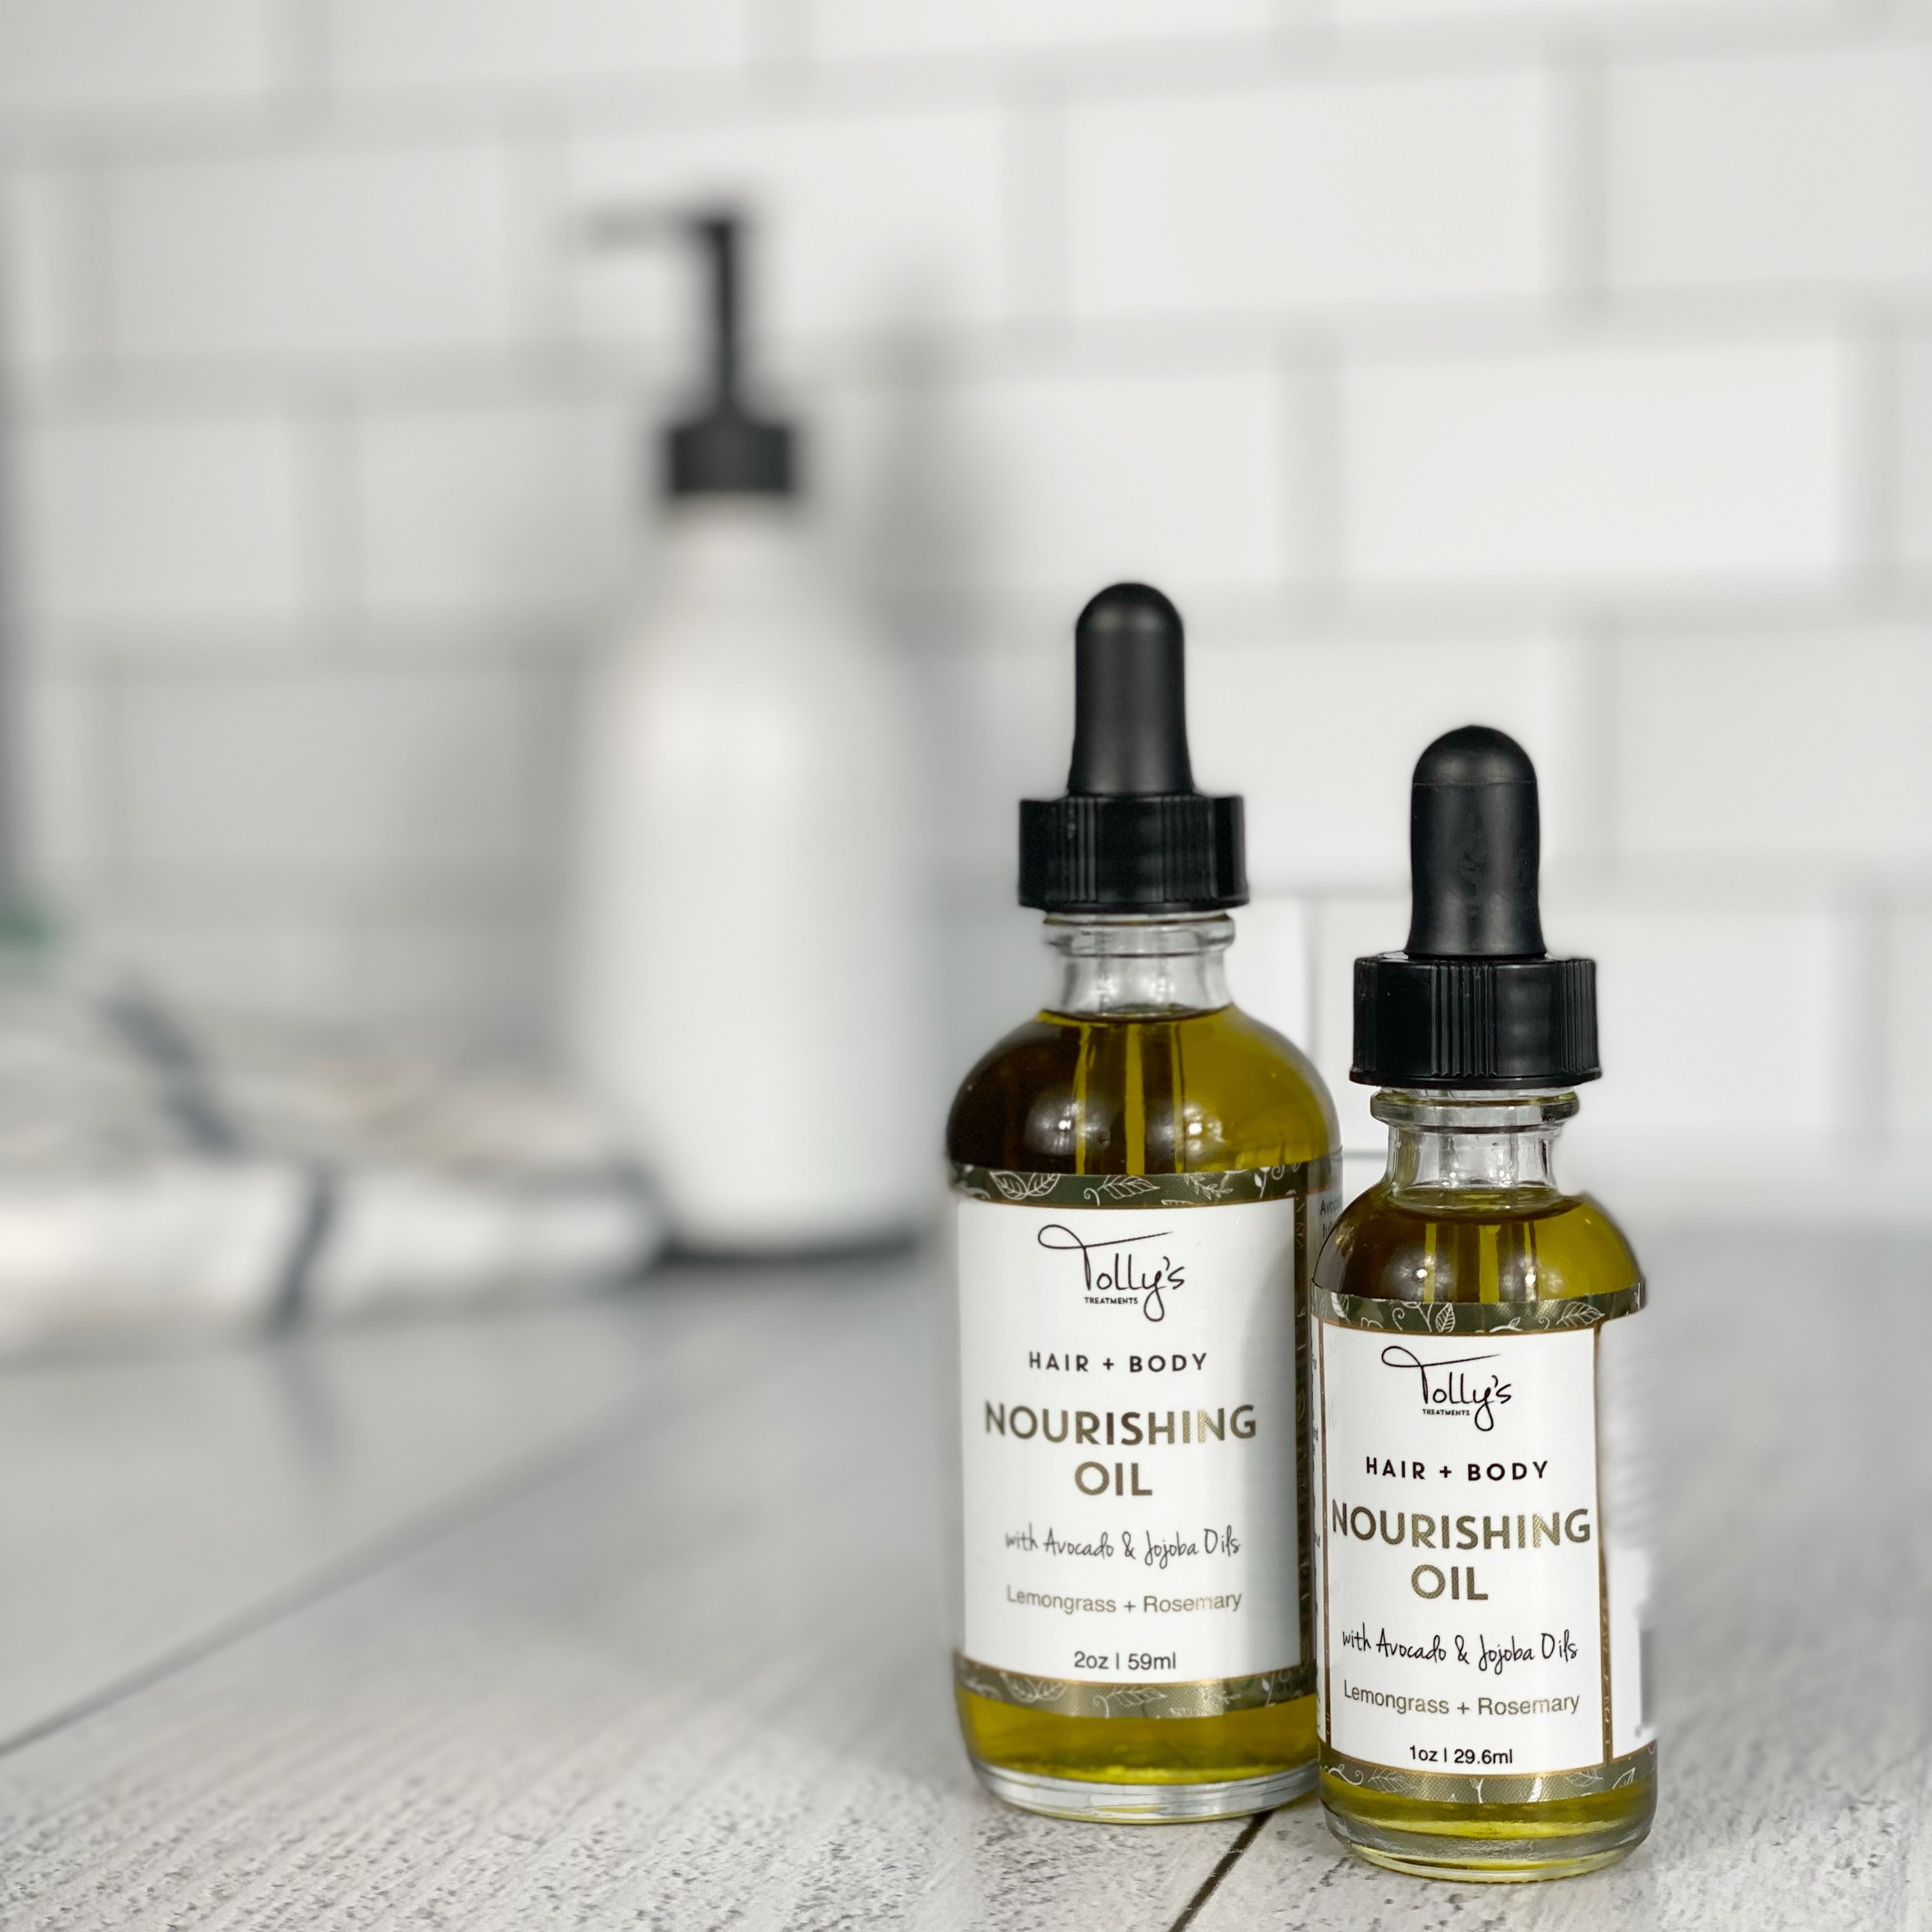
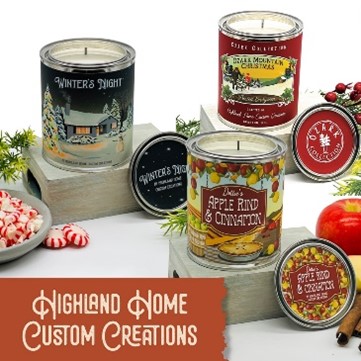
Every day we receive dozens, sometimes hundreds, of different product label artwork files for custom label printing. Sometimes the art we receive is perfect but often there are problems that need to be addressed before we can move forward with printing. So we have prepared a list of the most common mistakes that people make when preparing their artwork. If you take care to avoid these mistakes you will save yourself a great deal of time, energy and money. Here are our top 10 product label artwork mistakes:
1. Missing Fonts
This has been a common problem with product label artwork since we moved to digital file preparation over a decade ago. You might have this wonderful fancy font in your artwork, but if we don"t have it, when we open your file we will get an error message. The best way around this is to always outline your fonts before sending us your file.
2. Missing Bleed
If you want your color to print all the way to the edge of your product label you need to include a bleed. For example, if you want to print a 3" x 5" label, the size of the artwork you would create would be 3.125" x 5.125". Also, you need to leave some space around the very edge of your label that is free of text. The reason we need this is because during die-cutting the label material can drift ever so slightly (up to 1/32"), so you need to make allowances for this in your artwork.
3. RGB vs CMYK
Most digital color printers today (including your little desktop inkjet) print in CMYK, also known as four color process. However, all computer monitors display color as RGB (Red-Green-Blue). Now if you create your file for the RGB color space, the color is going to look different when printed on a CMYK printer, so it is always a good idea to create your artwork as CMYK. You should request a press proof if color is very important to you.
4. Improper File Resolution
Many times people send us a file of a picture or graphic that was on their web site and expect us to create a nice looking label from it. Unfortunately, in most cases the file on the web site is very low resolution, often as low as 72 dpi. We know if we print a file at that resolution it is going to look terrible. We recommend a resolution of 300 dpi for best results.
5. Tight Borders
If you want a thin border on your labels that prints right near the edge, or bleeds off the edge you are just asking for trouble. While label printing technology has advanced a great deal, there is still some very slight movement when printing and die-cutting your labels. While this movement is only a very small fraction of an inch, if your border is near the edge of the label it will be noticeable. Our advice, if you really want a border, is to make it a thick one (more than 4 point). That way the slight movement will be much less noticeable.
6. Spelling and Typing Mistakes
This one should really go without saying, but because we see it so much we feel the need to include it here. While we will sometimes catch mistakes, it is up to you to check your product label artwork carefully. We have learned that you can never proofread enough - even when you are sure it is correct check it one more time. Sometimes we print beautiful labels only to discover a spelling mistake after the fact. You can save yourself disappointment and expense by spending extra time making sure all your text is correct.
7. Missing Graphics/Links
If you are using a newer version of Photoshop or Illustrator (CS or CS2) this is less of a problem, but for people using older versions it is still a major issue. All your graphic elements should be embedded into your document before sending them to us, otherwise when we open your file there may be missing graphics or links.
8. Unsupported Software Format
There are dozens of different software programs you can use to design your labels. A trip to your local CompUSA will give you plenty of inexpensive choices, but these packages typically use proprietary formats that are designed to be used only on your desktop printer. Most of them cannot be used on a professional label printing press. We have artwork specs on our web site, but you will always be better off if you use the graphic industry standard programs: Adobe Photoshop or Illustrator. These packages create high quality art that will produce the best quality custom product label. If you don’t have this software, then make sure you can export into a standard graphics format such as EPS, TIF or a hi-res JPEG.
9. Color Expectations
Many people create their label artwork and then print it out on their inkjet or laser printer, thinking this is how their labels will look. But anyone who owns more than one different printer knows that color can look vastly different between printers. If color is important to you we recommend you request a free press proof - this way you will see exactly what your labels will look like when printed on our press.
10. Incorrectly Sized Artwork
We often receive artwork where the size of the art does not match the size of the requested label. This may be intentional but unless we have complete instructions we don"t know how to handle the artwork. Is extra white space needed? Is the label supposed to be centered, or should we be cropping the label to make it fit the desired size? If your artwork is a different size than the requested label please include detailed instructions with your order.
We see files every day that contain one or more of these mistakes. So if you can avoid these common pitfalls when creating your artwork, your custom product label order will be processed more quickly and you will receive the high quality result that you are no doubt expecting. If you have questions about any of the 10 points discussed here please let us know, we will be happy to help you.
Of course, if you are new to graphic design you may be making one of these mistakes without even realizing it. So what you can do if you are unsure about your art file is email it to us and we will take a look at it, or give us a call and we will answer your questions. It is always easier in the long run to take extra time before submitting your artwork and avoid making one of these common mistakes.

